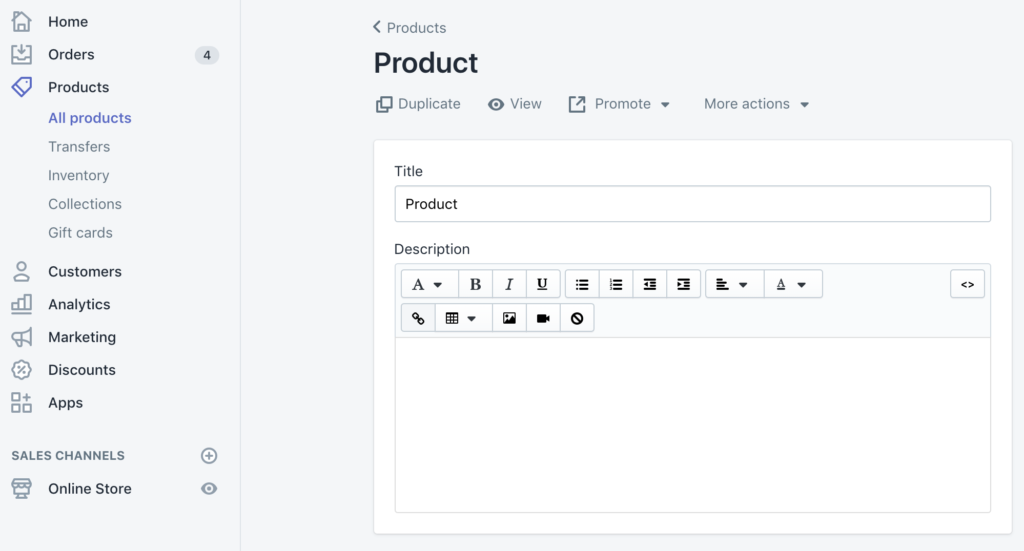
The Product Page Description, is any content that you add in the Product’s admin page in the ‘Description‘ rich text area:

The main goals of your product descriptions should be:
- Explain what, exactly, the product is and what it does.
- Describe the tangible properties of the product — materials, colours and any technical specifications.
- Proactively answer shoppers’ questions and concerns about the product.
- Influence the shopper to decide the product is a good fit for them and purchase it.
- Integrate with your SEO strategy.
- Illustrate your products by way of high quality imagery and video.
By default, the product page description will show up on a column beside your main product image area. However, there are some other design options that you can consider! Within the theme, you can include the use of tabs, embed videos, and move either part or your whole description under the product image/below the fold!
Product Description Configuration Options
Tags
Using tabs to organize some or all of your product’s description can make it clear and easier to access certain information, and is a good way to add more details about products in a small amount of space.
When editing a product description, you can click on the [< >] ‘Show HTML’ button in the upper right of the ‘description’ rich text area to toggle into HTML mode.
You can create tabs by following this HTML example. In the example code, the bold text should be customise to your specific content:
<!–Start tab labels–>
<ul class=”tabs”>
<li><a class=”active” href=”#tab1″>Tab 1</a></li>
<li><a href=”#tab2″>Tab 2</a></li>
<li><a href=”#tab3″>Tab 3</a></li>
</ul>
<!–Start tab content–>
<ul class=”tabs-content”>
<li class=”active” id=”tab1″>Tab 1 content</li>
<li id=”tab2″>Tab 2 content</li>
<li id=”tab3″>Tab 3 content</li>
</ul>
Note that there are two distinct sections of code above. The first part, which is the first six lines, is used to create the labels that users see on the tabs. Then, the last six lines control the actual content that users see when clicking a specific tab.
Video Embeds
If you have a YouTube or Vimeo video you’d like to add into your product’s description, you can do so by adding in the embed code!
For YouTube, you can grab the video embed code, by clicking Share > Embed > Select and Copy the whole iframe code.
To add the video embed code, in your Product Admin Page, you can click on the [< >] ‘Show HTML’ button in the upper right of the ‘description’ rich text area to toggle into HTML mode, you can then simply paste the embed here!
Split Tag
If you’d like part of the product’s description to display under the main product image, you can make use of the ‘split‘ option!
In your Product Admin Page, you can click on the [< >] ‘Show HTML’ button in the upper right of the ‘description’ rich text area to toggle into HTML mode then, you’ll have to place this tag in your product description at the point where you’d like the description to ‘split’ into the two components:
<!– split –>
This is also a great way to add some additional content such as additional images, text, videos on your product page while still using the default product page template.
Note: If you enter “<!– split –>” anywhere but the code view, this feature will not work. Also, the split tag does not appear in the rich text editor; you must be in code view to see it.
The content that is after the ‘split’ tag will then show full width, beneath the main product image, product gallery, and product form.
To take this a step further, you can create some interesting and creative layouts by using the ‘split’ tag along with the Column Framework!